Getting Started
This guide walks through the first successful wcpay session: install the CLI, connect a store, confirm WooPayments is reachable, and run a few safe reads.
1. Install the CLI
From this checkout:
npm install
npm run build
npm link
Confirm the binary is available:
wcpay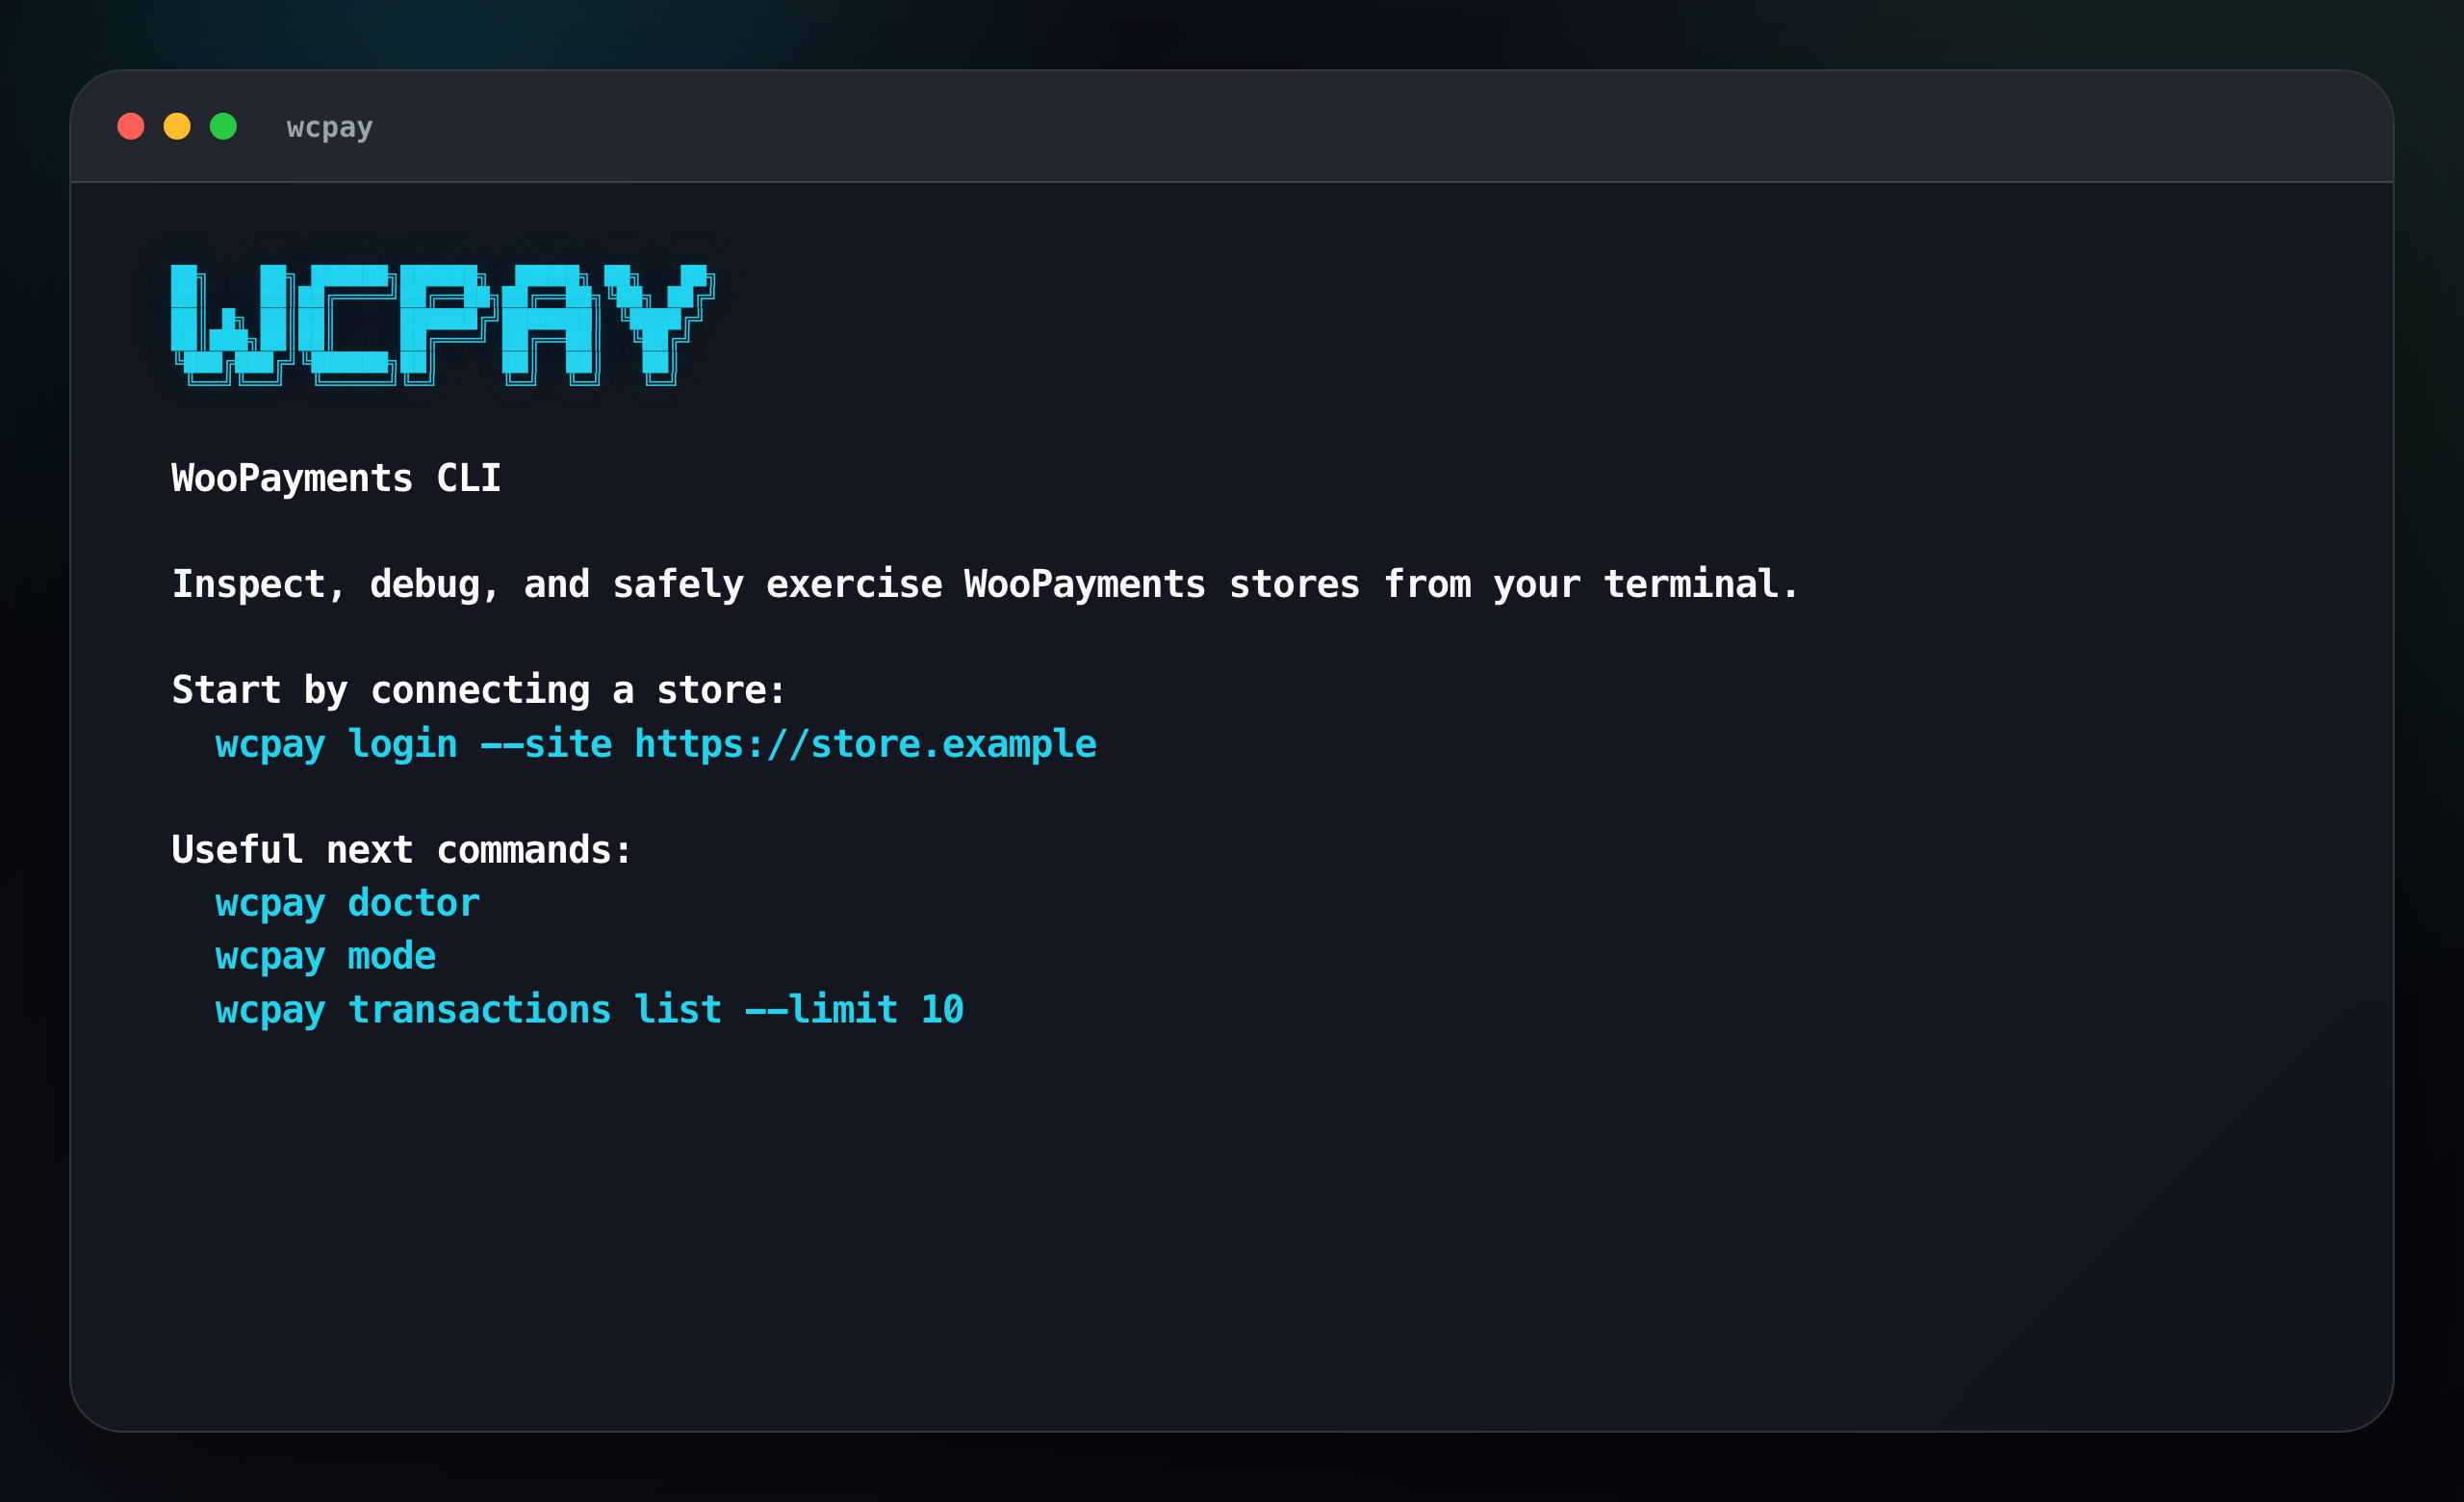
Package identity:
npm install -g @automattic/wcpay-cli2. Connect a store
wcpay uses WooCommerce REST API keys. The guided login flow prints the WooCommerce REST API key settings URL, prompts for the generated consumer key and secret, verifies the connection, and stores credentials in the OS keychain. If you already have a default profile, it asks before continuing:
wcpay login --site store.example --name stagingFor local development, you can omit the scheme too:
wcpay login --site localhost:8082 --name local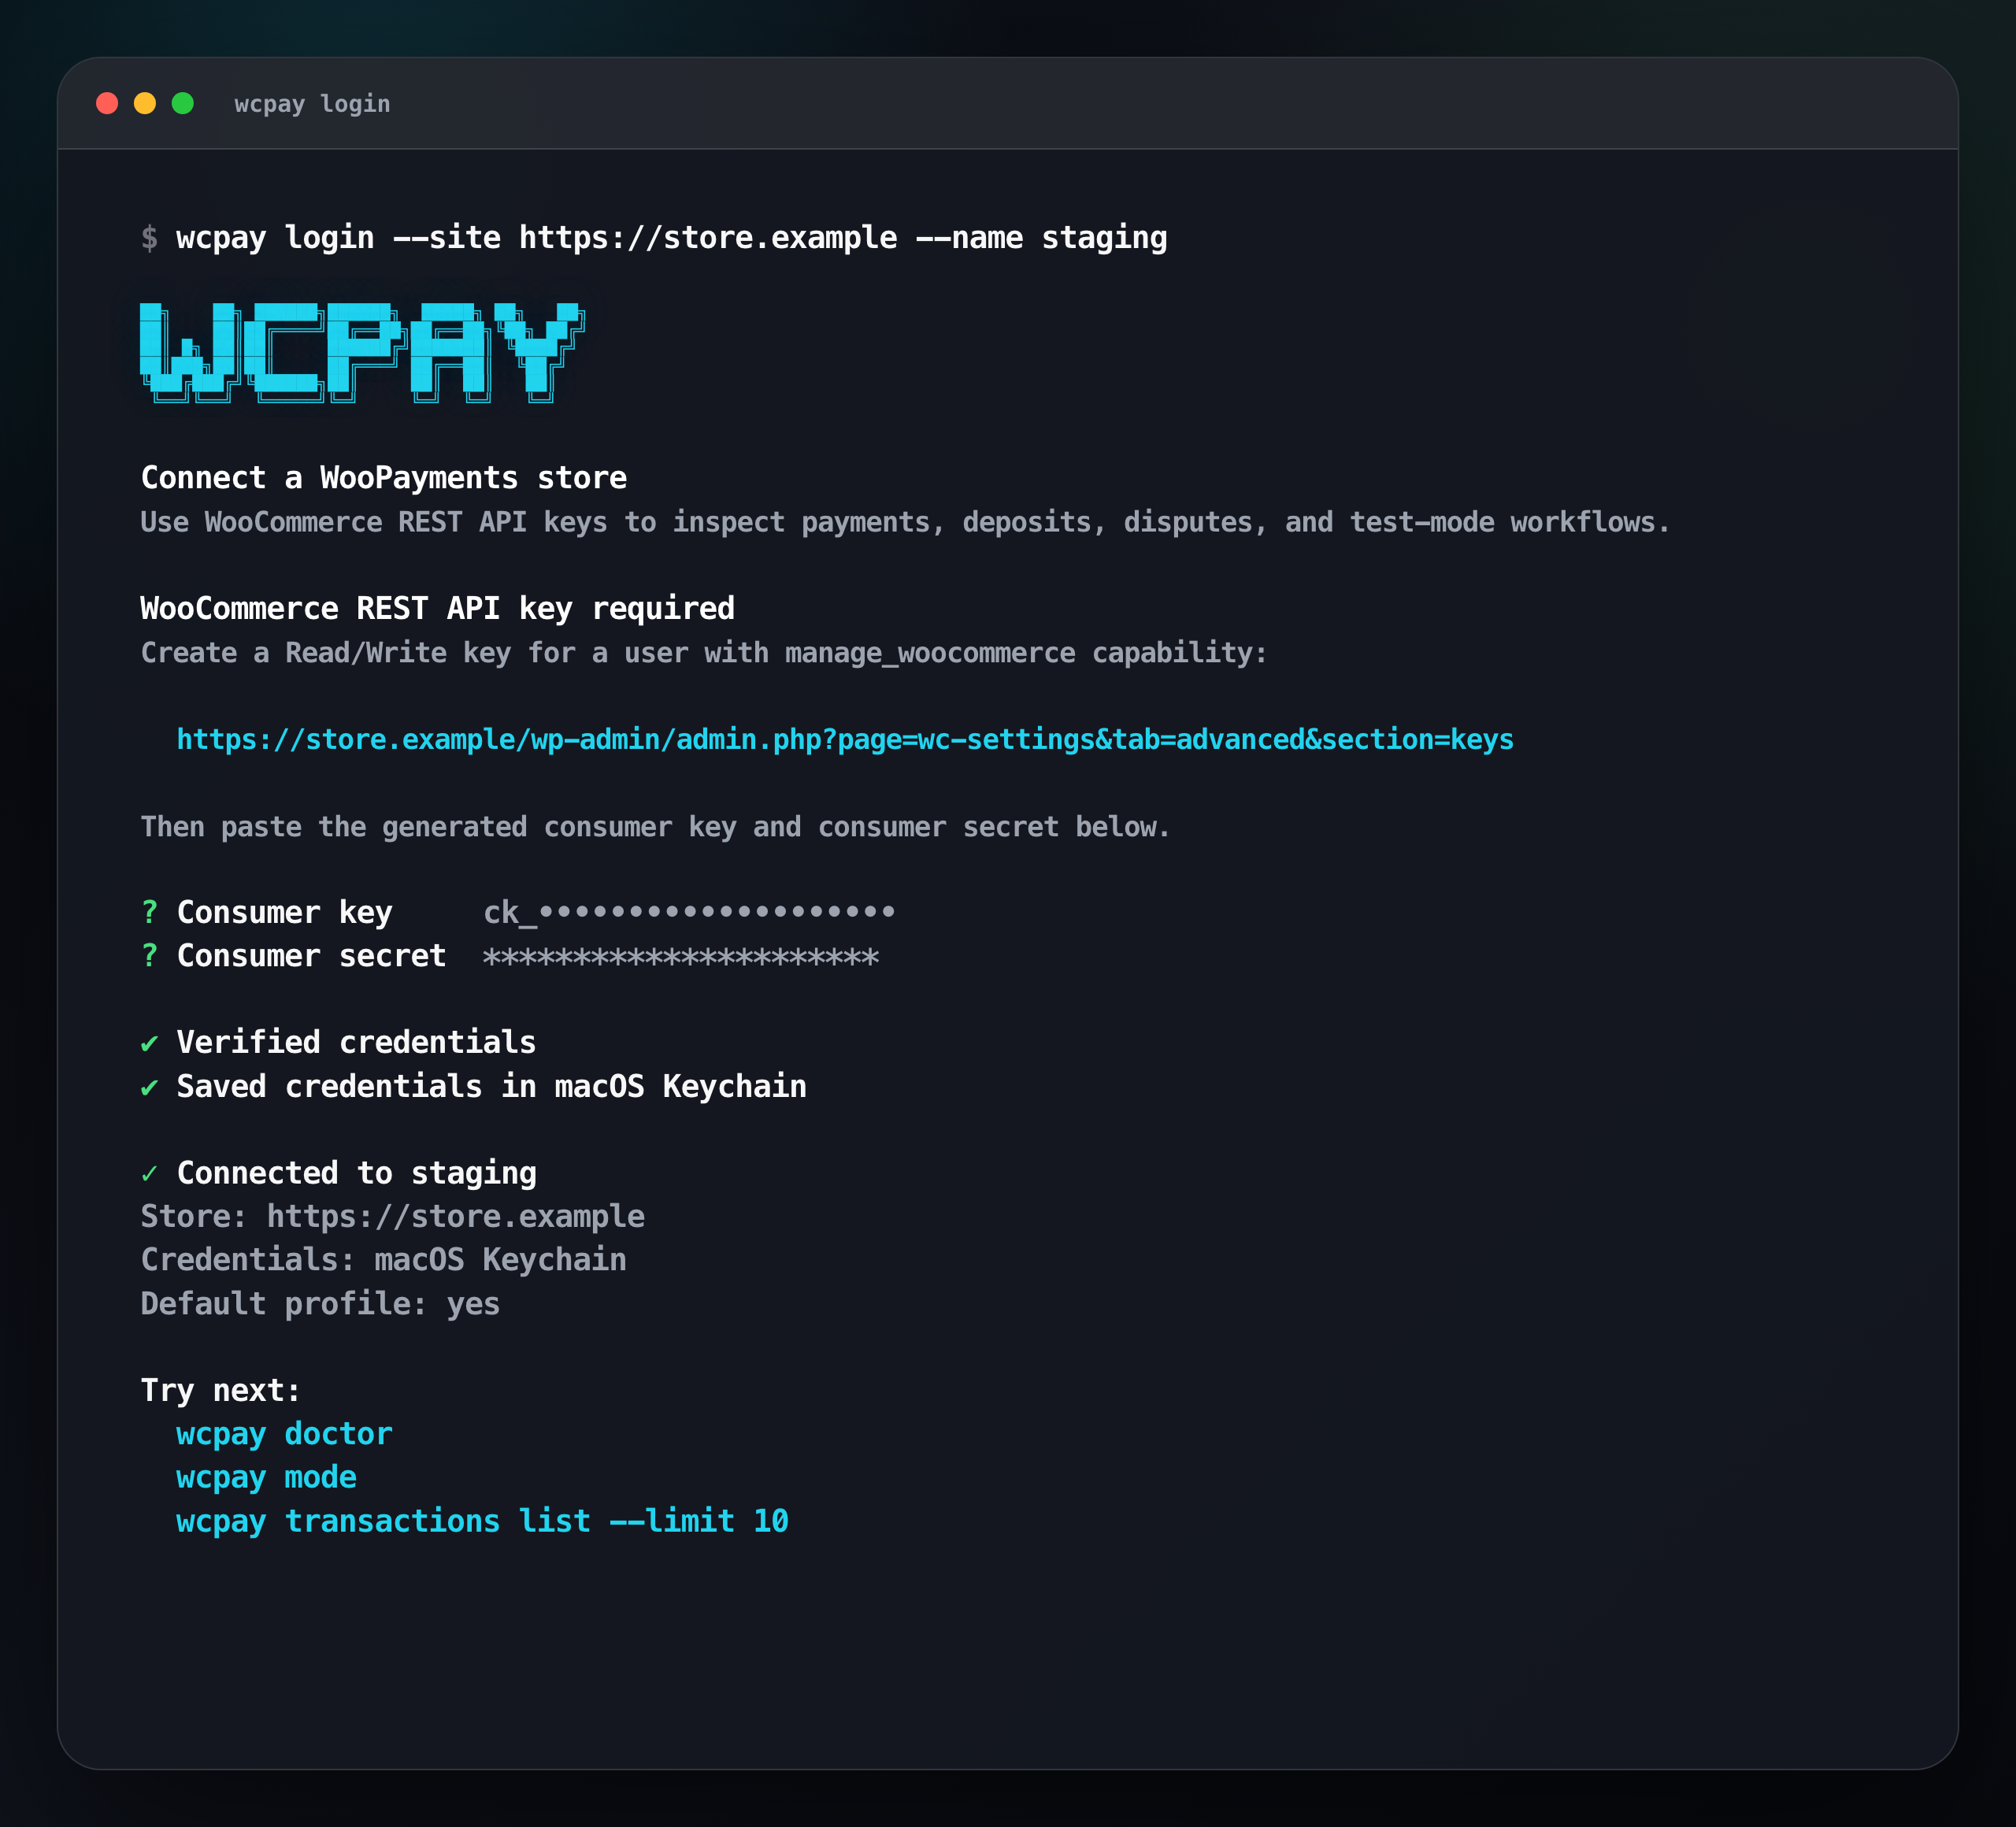
For local stores:
wcpay login --site localhost:8082 --name localFor a local development store where you want to save credentials without verification:
wcpay login --site localhost:8082 --name local --no-verifyYou can also pass credentials directly, which is useful for scripts and CI:
wcpay auth add \
  --site https://store.example \
  --name staging \
  --consumer-key ck_... \
  --consumer-secret cs_...
3. Confirm the connection
Run diagnostics first:
wcpay doctorFor output that is safer to paste into an issue or support conversation:
wcpay doctor --json --redactCheck the selected profile and WooPayments mode:
wcpay whoami
wcpay mode
wcpay account status
4. Inspect WooPayments activity
Read commands are safe to run against live stores:
wcpay transactions list --limit 25
wcpay deposits list
wcpay disputes list
wcpay authorizations list
Roll-up summaries answer the common totals questions without paging through lists:
wcpay transactions summary
wcpay deposits overview
wcpay disputes summary
Use IDs from list output to inspect individual records:
wcpay deposits get po_...
wcpay disputes get dp_...
wcpay charges get ch_...
wcpay orders get 123
For the full event history of a single payment (authorization, capture, fees, deposit), use the timeline:
wcpay timeline get pi_...5. Preview a write without sending it
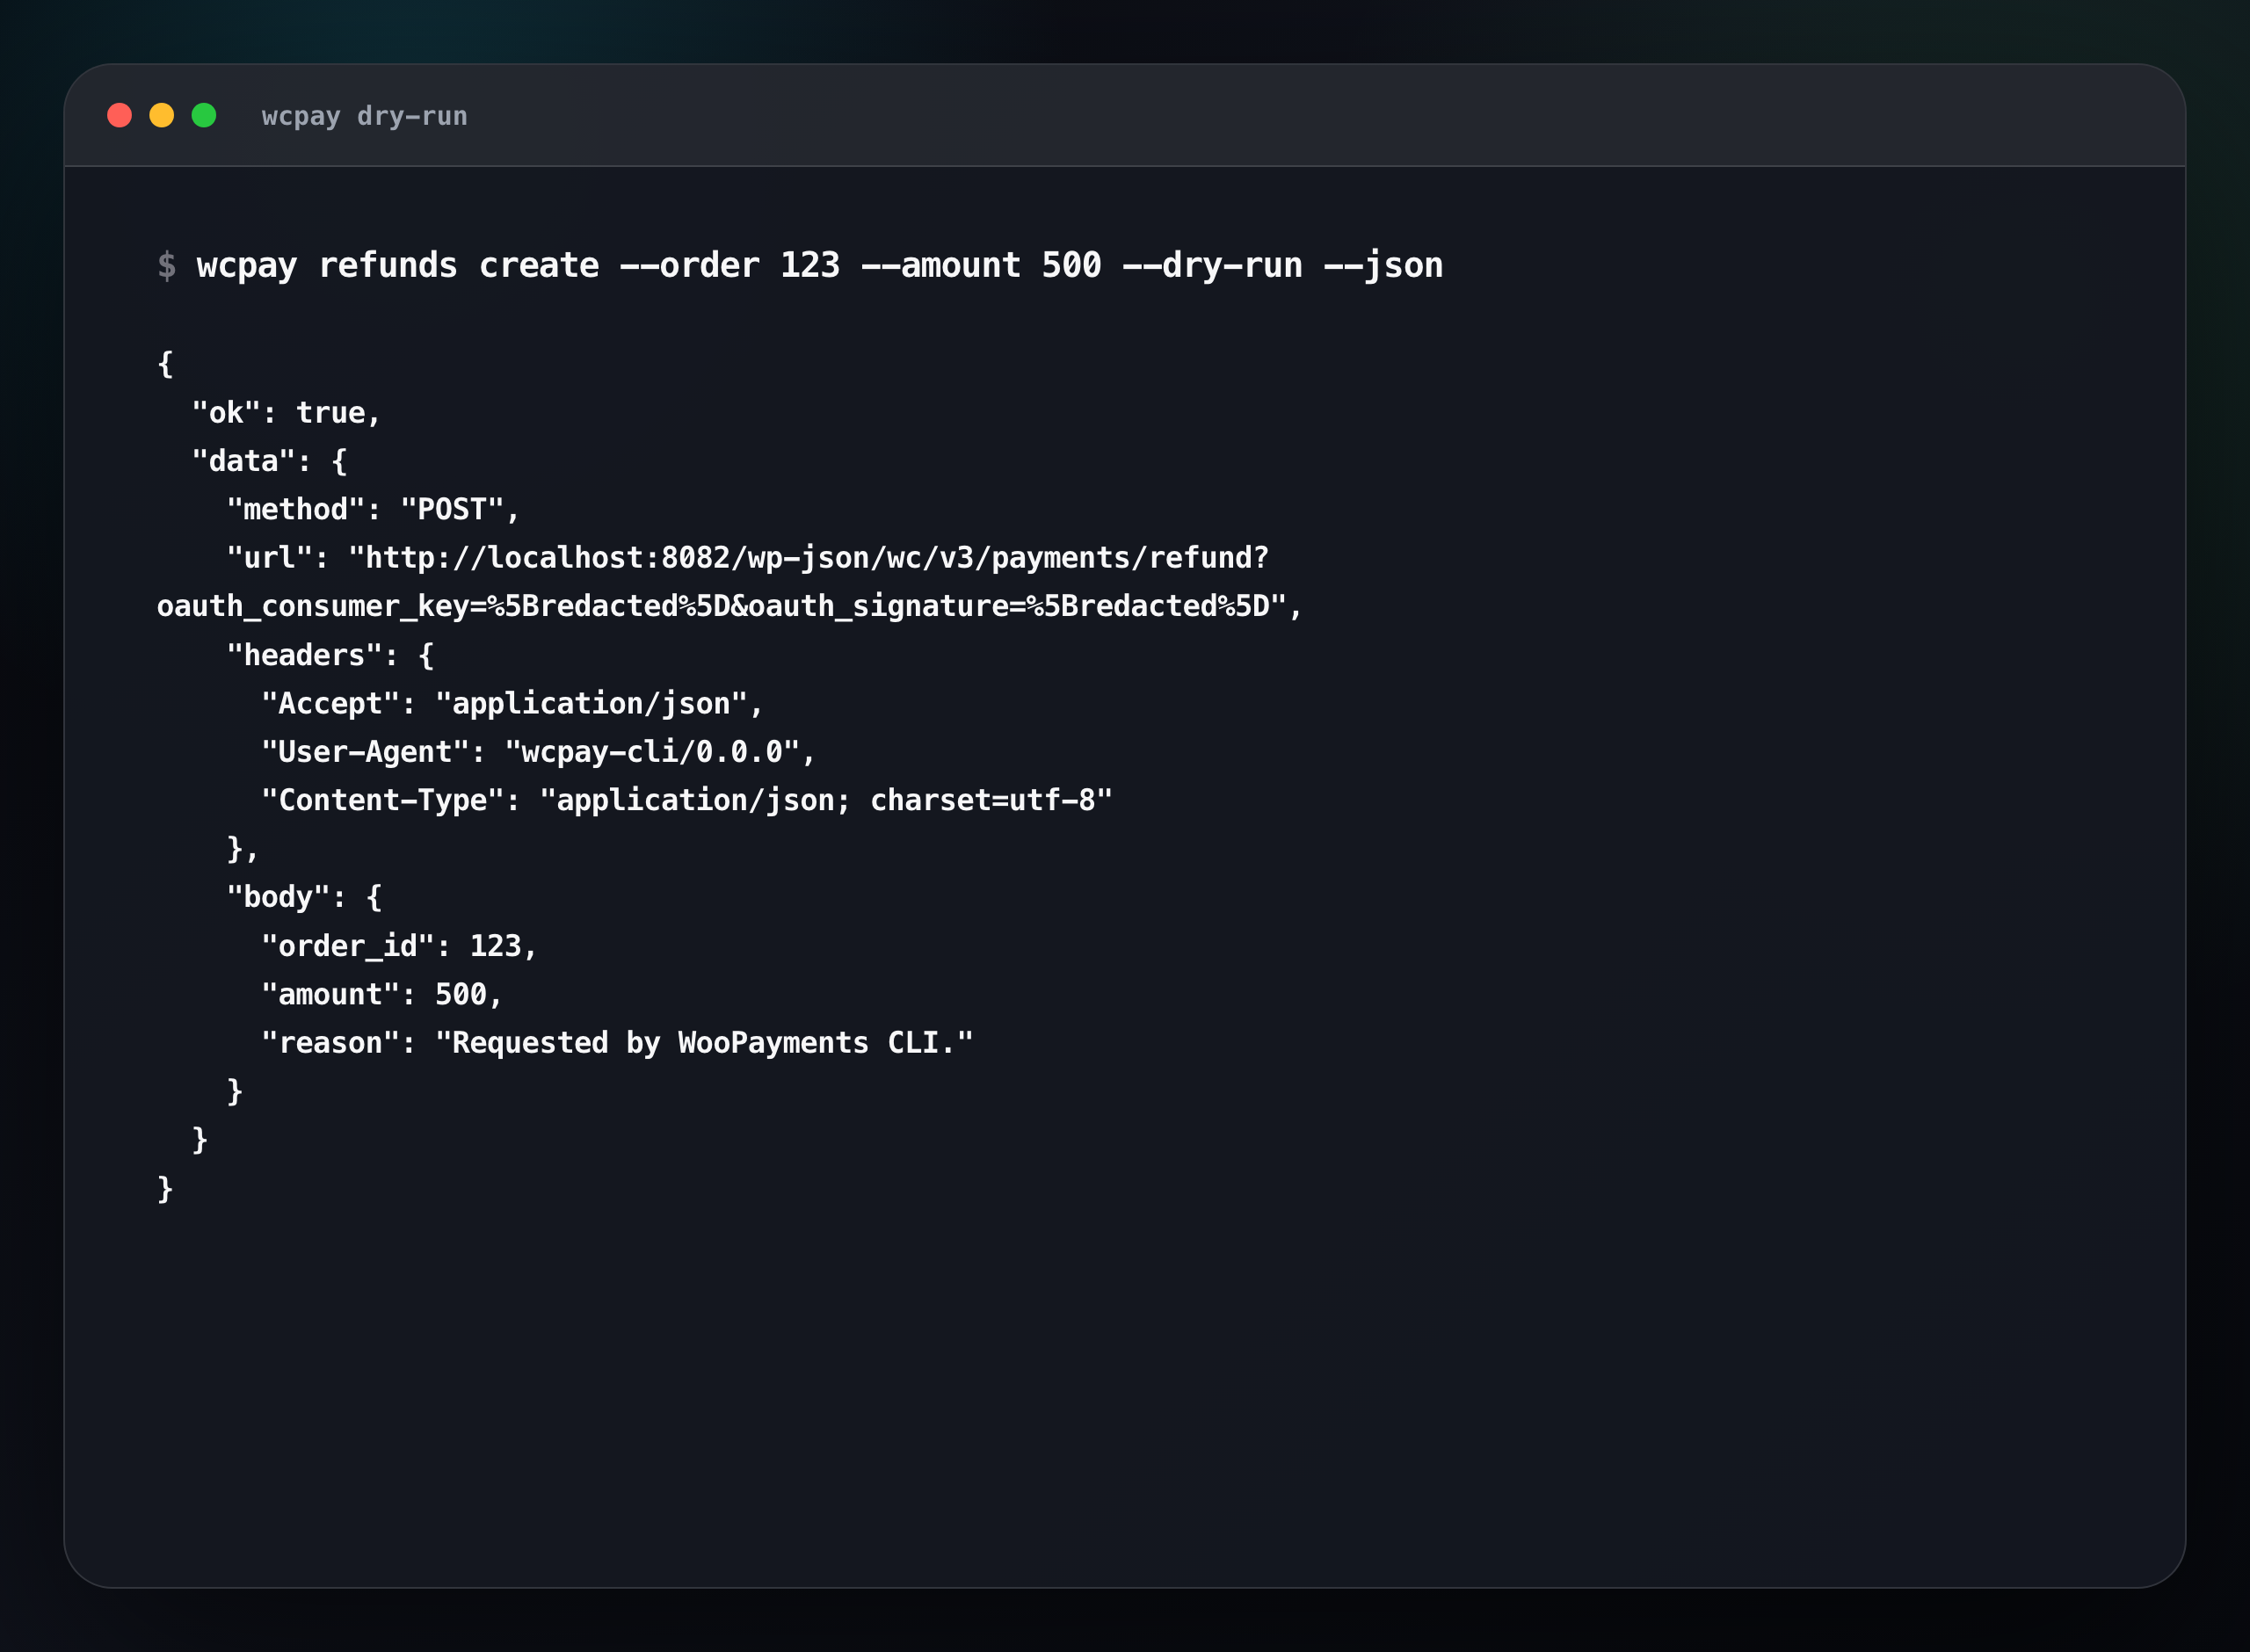
Use --dry-run whenever you want to see what a write command would do:
wcpay refunds create --order 123 --amount 500 --dry-runDry runs still authenticate, check WooPayments mode, resolve the HTTP request, and redact secrets from output.
6. Use JSON for scripts and agents
Most commands support --json:
wcpay transactions list --limit 10 --json
wcpay api get /wc/v3/payments/accounts --json
JSON responses use a stable envelope with ok, data, error, and meta fields. Commands also exit with category codes (2 usage, 3 auth, 4 API failure, 5 live-mode write blocked) so scripts can branch on failure type — see the command guide.
For CI or containers, you can skip profiles entirely by setting WCPAY_SITE_URL, WCPAY_CONSUMER_KEY, and WCPAY_CONSUMER_SECRET — see Authentication.
Safety reminder
Live-mode stores are read-only. Write requests are blocked unless WooPayments is in test/dev mode, and write-capable commands require --dry-run or --yes.